Getting Started with Auto Robot: Overview

Auto Robot Settings Menu

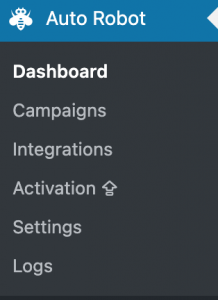
After you have installed and activated Auto Robot you will see the Auto Robot menu item on the left side menu panel in wordpress admin page. Auto Robot Settings page has all the settings you will need to customize the Auto Robot.


Dashboard Tab

Here you will see the plugin overview, include the guide to add your first campaign, and how to manage your campaigns list.

Campaigns Tab

This section will list all you already added campaigns, with the actions you can delete, publish campaigns.

Integrations Tab

Here is the section that you can connect to the available apps via their API here and activate them to collect data from third party apps.

Activation Tab

Here you can select to opt in, so that some data about your usage of Auto Robot will be sent to our servers for Compatiblity Testing Purposes and Email Notifications.

Settings Tab

Here you can configure the behavior of the campaigns and the plugin settings.

Logs Tab

Here’s the logs of system status when running auto robot campaigns and wp cron jobs.

Ready to setup your campaigns?