[ad_1] [00:00:19] Nathan Wrigley: Welcome to the Jukebox Podcast from WP Tavern. My name is Nathan Wrigley. Jukebox is a podcast which is dedicated to all things WordPress. The people, the events, the plugins, the blocks, the themes, and in this case, how new, native browser features, are transforming what’s possible on the web. If […]
Continue readingTag Archives: wordpress
Crafto Theme Review – The Best AI-Powered WordPress Theme
[ad_1] Building a professional website shouldn’t require a computer science degree. Yet most WordPress themes still expect you to be a designer, developer, and content creator all rolled into one. Crafto is an AI-powered theme that does the heavy lifting for you. Instead of giving you blank templates and expecting you to figure it out, […]
Continue reading#179 – Mariya Moeva on the Impact of Google’s SiteKit on WordPress – WP Tavern
[ad_1] [00:00:19] Nathan Wrigley: Welcome to the Jukebox Podcast from WP Tavern. My name is Nathan Wrigley. Jukebox is a podcast which is dedicated to all things WordPress, the people, the events, the plugins, the blocks, the themes, and in this case, how the Google Site Kit plugin is attempting to simplify their product offering, […]
Continue readingWeglot Review – Is This the Easiest WordPress Translation Plugin?
[ad_1] “Chi parla una sola lingua vive una sola vita.” My grandmother’s words echoed in my mind as I stared at my website analytics. The old Italian saying means “those who speak only one language live only one life” — and my website was certainly living a very limited one. What if there was a […]
Continue readingWe Just Launched the WordPress Development Course for the Modern Era

[ad_1] WPShout has a rich history of WordPress development education. From free tutorials and development guides to the flagship course “Up and Running” launched back in 2017, the site has helped hundreds of people learn WordPress development. Since taking over WPShout a couple of years ago, we’ve been planning to continue this educational legacy. WordPress […]
Continue readingFrom Gaza to WCEU 2025 Basel – My Journey as a WordPress Developer from War to Community
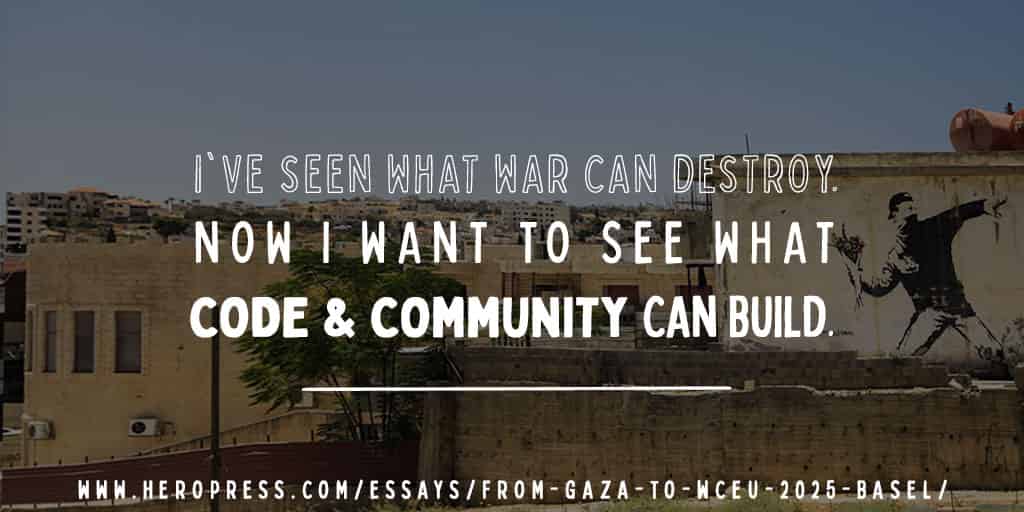
[ad_1] I was born and raised in Al-Shati refugee camp in Gaza — one of the most crowded places on earth. A place where electricity cuts were normal, water came in buckets, and even simple internet access was a daily battle. But it’s also the place where I became a WordPress and WooCommerce developer. I […]
Continue readingBest WordPress Themes for Security Companies
[ad_1] For any business, a high-performance website isn’t just a choice anymore. It’s a must. Let alone maintaining a stunning online presence, a website is crucial for attracting potential customers. The same goes if you have a security company. A fast-paced and responsive website can give your security business an extra edge, guiding them to […]
Continue readingSecure WordPress Theme Selection: Step-by-Step Guide

[ad_1] Security is often an overlooked consideration when choosing a WordPress theme. Though it should be one of the major priorities. Besides functionality and looks, you must check that the theme’s coding is clean, gets regular updates, and can keep your website safe from data breaches, site hacks, or malware attacks that lead to bad […]
Continue readingWin a Free Spot in Modern WordPress Fast Track
[ad_1] We believe everyone deserves access to quality WordPress development education, regardless of financial circumstances. That’s why we’re excited to announce that we’re giving away one free spot in our upcoming Modern WordPress Fast Track course to someone who couldn’t otherwise afford it. About the Course Modern WordPress Fast Track is a 10-week course that […]
Continue reading6 Best WordPress Page Builder Plugins for 2025 (Only the Best)
[ad_1] Searching for the best WordPress page builder plugin to create beautiful code-free designs using a visual, drag-and-drop editor? While the native WordPress editor gives you some control over the design and layout of your page, WordPress page builder plugins put that on steroids and let you create eye-catching designs, even if you don’t know […]
Continue reading