Considering using the Astra theme for your website? In our hands-on Astra theme review, we’ll help you decide whether it’s the right theme for your needs. Astra has the impressive distinction of being the most popular non-default WordPress theme ever. It was the first and only non-default theme to pass the one million active install […]
Continue readingTag Archives: wordpress
WordPress Translation Day 2021 Kicks Off September 1, Expanded to Month-Long Event – WP Tavern
WordPress Translation Day 2021 WordPress Translation Day kicked off today, and the event has been expanded to run from September 1-30 this year. WordPress Polyglots contributors from all over the world will be hosting mini-events throughout the month where they will be translating themes, plugins, apps, meta, docs, and other important projects. Events will also focus […]
Continue readingSquarespace vs WordPress: A Comparison of 2 Site Publishing Giants
Building your website needs a stellar solution at the base. Squarespace vs WordPress is often a point of comparison for many users. In short, both platforms are user-focused, and easy to use. Even so, there’s a bit more you need to consider when weighing up both solutions. For example, price is often a prime consideration. […]
Continue reading8 Best Options for Managed WordPress Hosting Compared (2021)
Do you really need managed WordPress hosting? Let’s face it: Running a WordPress blog or site is no easy game. You have to take care of all the content, marketing, site design, social media, and so forth. But before you do that, you have to make sure your WordPress site is running smoothly and your […]
Continue readingProposal for Adding Badges and Other ‘Learner Achievements’ to WordPress Profiles – WP Tavern
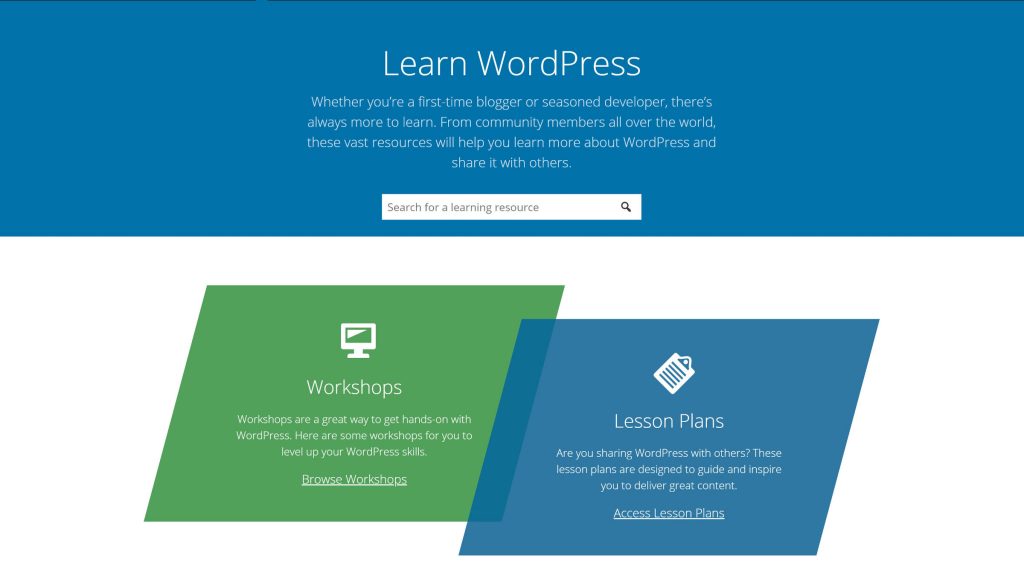
In December 2020, WordPress launched its new “Learn” platform with free courses, workshops, and lesson plans. Since then, the Training Team has continued adding more material. The latest proposal is an open discussion for the community on adding participatory badges for completing coursework. “I’d like to nail down what kind of thing we would like […]
Continue readingUsing a Registry, Subscribers, and Services in WordPress
TL;DR: I find the using a registry, subscribers, and services very useful when building backend-centric plugins and utilities for WordPress. This post walks through how to do it. After working in with design patterns, object-oriented programming, and WordPress for years, common ways of solving problems are bound to arise. This is how we got object-oriented […]
Continue readingWordPress Classic Editor Support Extended for at Least Another Year – WP Tavern
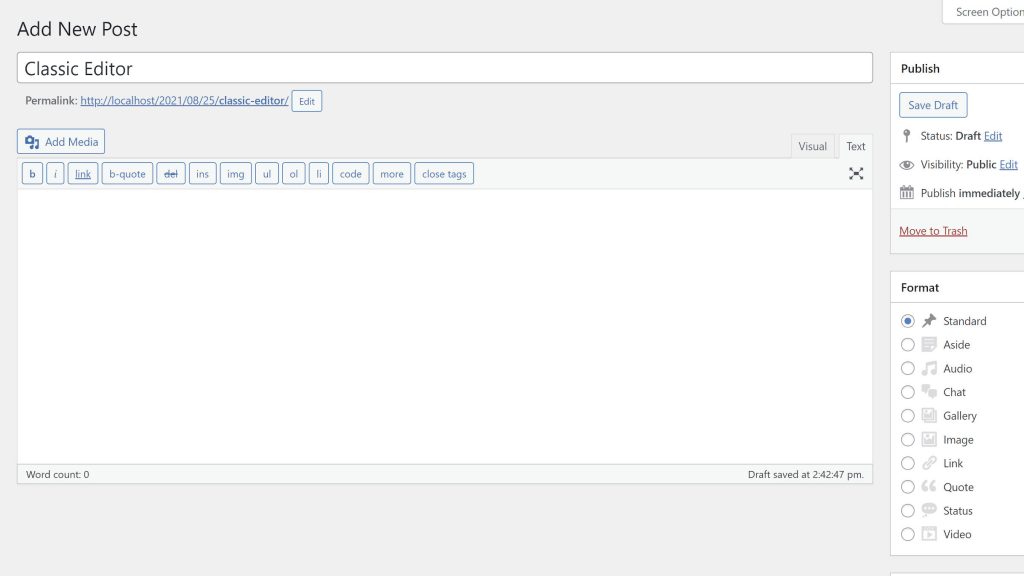
Last week, I reached out to several members of the core WordPress committers to see if we could get an official word on whether Classic Editor support would continue beyond the mere months it seemingly had left to live. I received a semi-official answer but was asked to hold off on publishing for a more […]
Continue readingWhat Is Gravatar? Complete Guide for WordPress Users + Everyone Else
What is Gravatar and why should you care about it? In a nutshell, it’s a service that helps you display avatars on the Internet. If you’re a user, it helps you create a profile picture that automatically follows you around to other sites. And if you’re a WordPress webmaster, it helps you automatically display profile […]
Continue readingWhy Did You Start Using WordPress? – WP Tavern
If there was a question that ever made me start feeling old, it might be this one. Last week, Marcel Bootsman asked via Twitter, “Why did you start to use WordPress?” WordPress community members chimed in with all sorts of reasons for hopping aboard, and Jeff Chandler of WP Mainline shared his journey on his […]
Continue readingA Free User Registration, Form Builder, and Profile Plugin for WordPress
For the past few years, ProfilePress has carved out a reputation as one of the leading tools for creating WordPress membership sites by tackling a simple yet important problem: Building a fully functioning site that is easy to manage, gives you full control, and doesn’t look like every other membership site on the planet. This […]
Continue reading